Overview
Microsoft 365 typically adds shared mailboxes by default however at times this can fail. This article will help you add the shared mailbox manually for these instances.
Instructions
- Open Outlook:

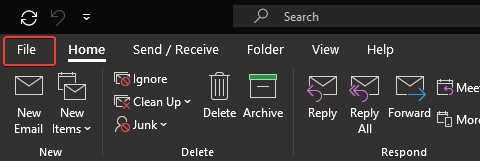
- Click File:
- Click Account Settings:

- In the new drop down, click Account Settings:

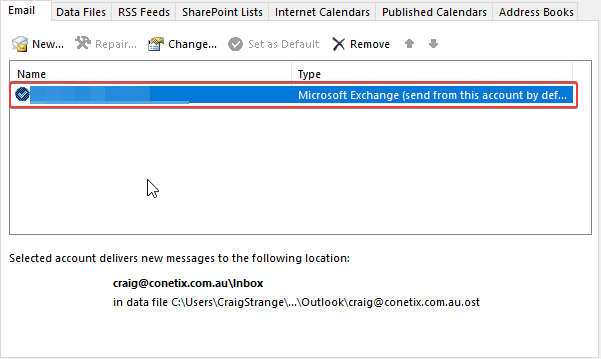
- Click on the account you need to add a shared mailbox to:
- Click Change:

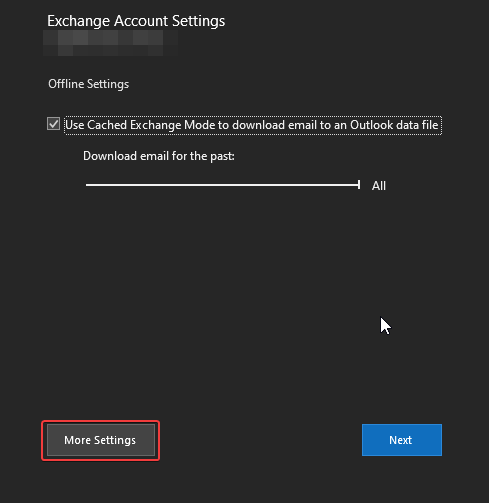
- Click More Settings:
- Click the Advanced tab:

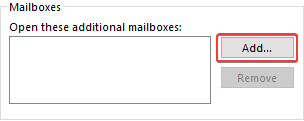
- Click Add:
- Enter the address of the inbox, excluding the “@” symbol and your domain name:
eg: info instead of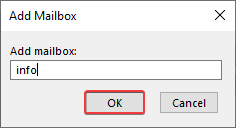
- Click OK and wait for Outlook to finish loading:
- After Outlook finishes loading, click OK on the Add mailbox window if it is still showing:
- You should now see the name of the shared mailbox in the Open these additional mailboxes area:

- Click OK on the Microsoft Exchange window:

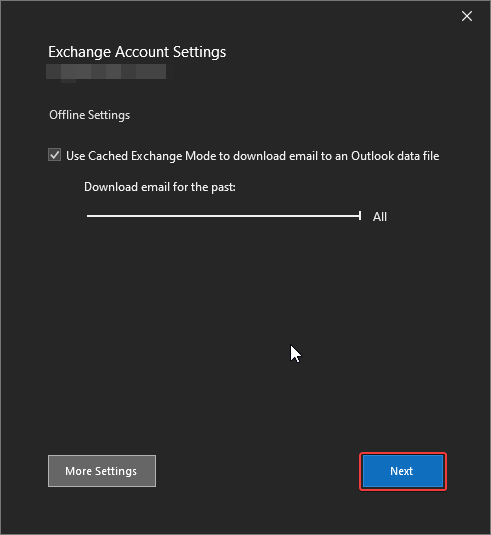
- Click Next on the Outlook edit settings window:
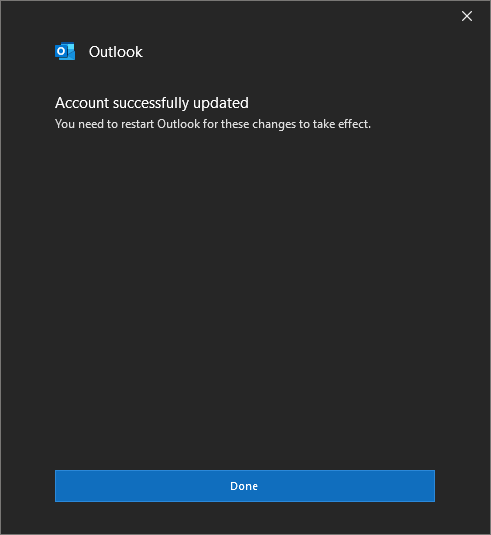
- Click Done on the Outlook edit settings window:
- Click Close on the Email Accounts window:

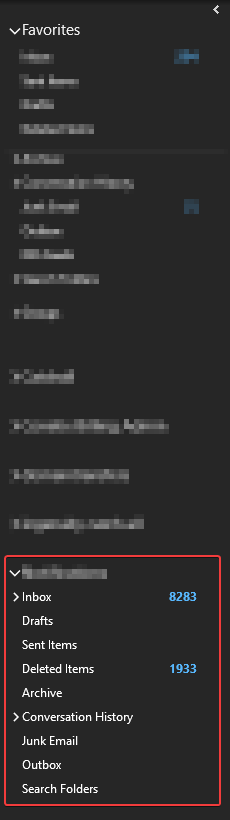
- In the left hand pane of Outlook, you should now be able to scroll down and see the shared mailbox:
If you have any trouble with the above, please reach out to our friendly support team.