Overview
This article covers how to generate a CSR within Plesk on a Conetix web hosting plan.
If you are purchasing the SSL Certificate from Conetix directly, the support team will happily complete this process for you instead.
Instructions
- Login to Plesk.
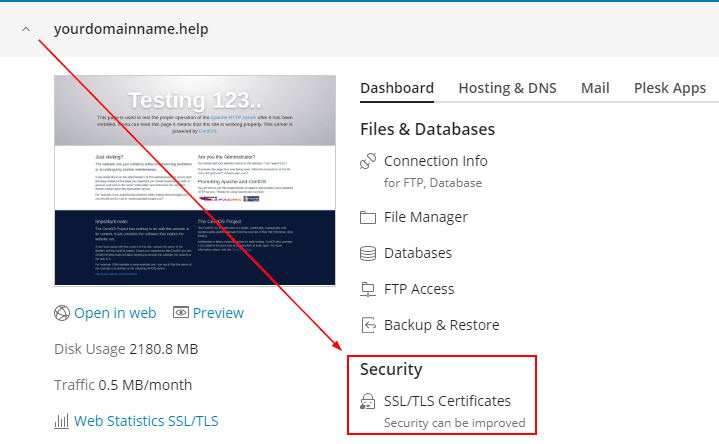
- Click on SSL/TLS Certificates.
- Click on Advanced Settings.

- Select Add SSL/TLS Certificate.

- Enter a suitable Certificate Name.
Including the domain/subdomain along with the ‘Issued On’ and ‘Expires On’ years is recommend to help identify it in future.
- Fill out the details at the top of the page, paying close attention to the Domain Name that is supplied.
The Domain Name field should include the exact domain or subdomain that the SSL Certificate will need to secure once issued.
- Once all of the details have been filled out, click Request.
- You will be taken back to the previous screen, where a list of certificates will be presented. Click on the newly created one.

- Scroll down to locate your generated CSR and corresponding Private Key.

